Many factors go into determining how to light up a stage. While experience and testing different approaches will allow you to practice and refine your techniques, using a stage lighting guide can highlight the stage lighting basics and give you a place to start.
Lighting designers aren’t required to follow any regulations or standards when creating their stage lighting design. While some choose to follow popular or common practices to produce successful results, many designers choose to test their creativity and come up with their own unique designs.
Rather than standards, lighting designers should consider common goals when planning their design:
However, even these goals are flexible. Many designers play against conventions or common practices to create something that works perfectly for their show.
When designing stage lighting, everything needs to be intentional and provide a specific function. As you create your stage lighting setup, you will want to evaluate the importance and purpose of each light.
The lack of official rules and regulations for stage lighting can make designing a lighting setup challenging, especially for new lighting designers. However, you can use some positive and negative lighting strategies to help you get started.
Positive lighting rules are techniques that intentionally include specific lighting features to create a particular outcome. For example, if you want your lead actor to stand out during their major scene, you may want to use a spotlight to draw your audience’s attention to them.
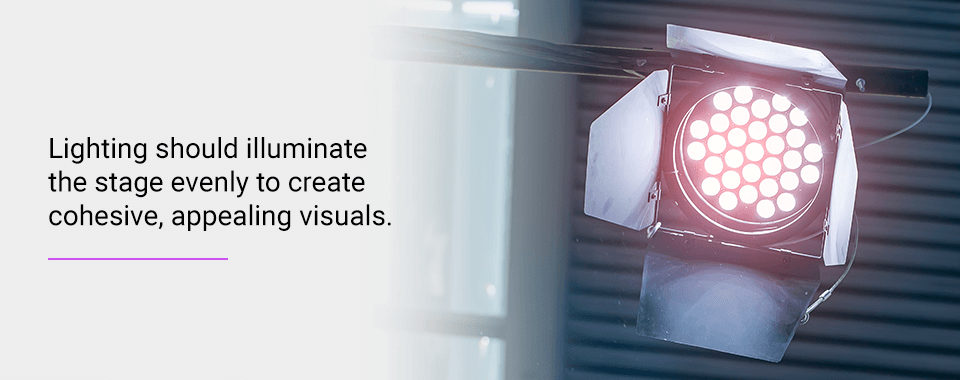
On the other hand, negative lighting rules instead require you to determine what to do by deciding what will not work. If you want to highlight your leading actor, you wouldn’t want to include enough overhead lights to light the whole stage evenly. This technique lets you eliminate certain lighting practices from your options so you can work towards finding the one that will best suit your purposes.
As you develop your stage production, you can begin with the basics of stage lighting to create stunning visual elements that will wow your audience. Each step is essential for helping you develop the best lighting system for your performance to get the most out of each function and element. 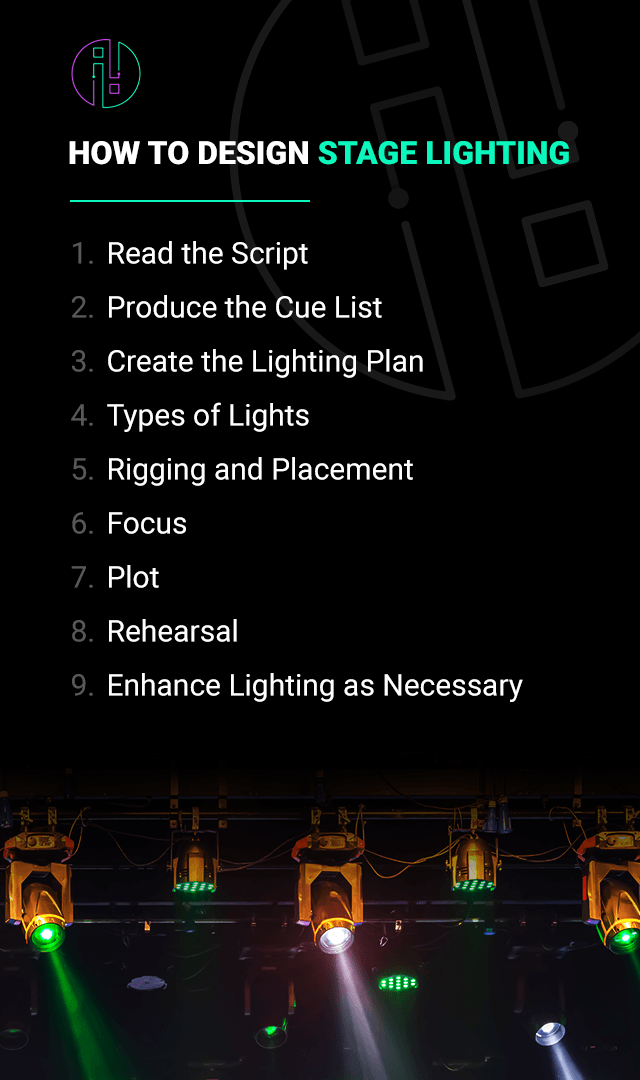
The first step in the lighting design process is to read the script and note the various lighting requirements based on the setting and storylines. Each performance will have unique needs to portray its intended meaning and significance to the audience, and lighting can help.
As you read through the script, take notes on the types of lighting you might need to help successfully turn the script into a performance. These notes should be very general concepts instead of specific details. The idea is to get an idea of what you may need as you move forward. For example, if you have a scene at the ocean, your note might be something like “ocean lighting.” Later, after you assess your available resources and limitations, you can determine the best way to accomplish those ideas.
After reading through the script and getting basic ideas about what you need to include, you can begin to compile a cue list. The cue list will serve as a timeline for when lighting techniques will occur throughout the performance. You will develop this list as you continue to build your lighting, so it may start more basic and grow to include precise cues and details. Typical instructions include words like “dim” and “lights up.”
This list is vital for communicating plans with other production teams on set, like the director, actors and set crews. When those groups have a general idea of what the lighting will look like and when it will occur, they can better plan their actions around them. For example, if the set crew knows certain areas of the stage will be dark at particular times, they can arrange to move and stage props during those times.
At this stage in developing your stage lighting, you can begin to get more specific with your details. Here, you can start to visualize your plans on paper and the stage to test and experiment with various lights to find the best system that works for your production. As you create a plan, you will need to survey the venue and determine what your infrastructure can support. From there, you can make adjustments to your ideas.
You can work with set designers and performers to try out different lights and see the results at this stage. Evaluating the design this way will help you bring your ideas to life.
As you develop your stage lighting design, it is essential to consider the different types of stage lighting. Each one has a unique function and purpose, so understanding their differences can help you choose the right lights for your production. Some standard stage lights include:
After learning the unique functions and purposes of each stage light, you can select the ones that will give you the desired effect. Most lighting designers mix many types of lighting to create designs that support different aspects of the performance, creating different lighting effects for the set and the cast.
As you determine what lights you want to use, you can begin to think about the best places to put them. Stages offer several spaces for lights, each with a different purpose and angle to provide something new to the performance. Some essential lighting rigging placements include:
You can help define many different aspects of your stage performance depending on the purpose of scenes and where you want your audience to focus. However, lighting placement also depends on the lights’ angles. Because there will be many lights at each rigging placement, the angles will let you direct them exactly where you need to provide light. You can also group lights together to hit one spot on stage from different angles. Some additional light configurations include:
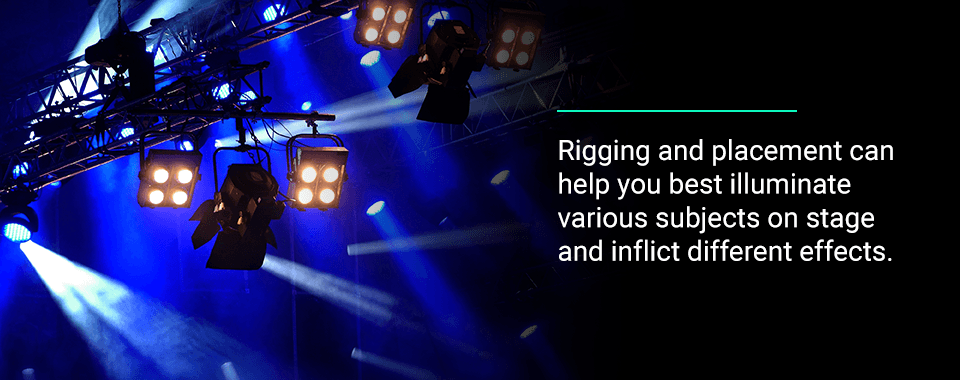
Rigging and placement can help you best illuminate various subjects on stage and inflict different effects. While three-point is popular for its shadowless effect, you may want some shadows present for contrast. Experimenting with multiple effects can help you determine what will work best for your production.
Many lighting lenses allow you to focus their beams to create different effects on stage. Depending on the script and lighting design, you may want a sharper focus on specific objects. Lights like followspots and ERS lights can provide intense, crisp beams that allow for little light spill outside the specified beam, while other choices like Fresnel lights create softer beams with less focus.
Lighting is also essential for guiding the focus of your audience. Your lighting choices can help make objects fit seamlessly into the background or help performers stand out, so the audience notices them as soon as they appear on stage. Choosing the proper lens focus can help you determine where your audience will look and how things appear on stage.
While lighting has many mechanical purposes, it can also help convey the plot. Lighting can help the audience understand intangible concepts like changes in movement or time, which are challenging for actors on stage to portray by themselves. You can use elements like pattern and shape projections, shifting colors and dimming to visualize essential plot points.
For example, by using different colors and light intensity, you can simulate other times of day and even represent the passage of time. You can start the day with gentle pink lights and end with bright oranges. Some lighting designers even represent the sun through single circular spotlights.
During rehearsals, you have the chance to put all the elements of your performance together to see how everything will look for audience members. Rehearsals are great for cast and crew to practice timing and movements, and lighting designers can use them to determine if lighting effects are producing the desired effect or if there are areas that need improvement.
At rehearsals, you can take note of updates you want to make to your cue list so you can go back to drafting and testing.
Once you have determined the effects you want and run through rehearsals to judge execution, it’s time to make any necessary adjustments. You can look over your rehearsal notes to determine where you want to change techniques or try something new. Making changes can help ensure you are enhancing the lighting’s function and purpose as much as possible.
After changing elements, you can use other rehearsals to check changes and ensure they are working the way you want them to. Returning to rehearsals will also help your staff and cast understand the differences and their effects.
You can set your show up for success with beautiful and functional lighting designs. At Illuminated Integration, we work with lighting designers to create high-quality lighting designs that best serve your specific needs. We give each client individualized care, so you will receive a unique design to best suit your performance.
Contact Illuminated Integration today and discover how to create lighting designs perfect for your stage performance.