
The popularity of video content is growing exponentially, largely because video is a rich media format that allows you to tell an engaging story. However, poor video quality can ruin an otherwise good video. Of course, the content of your video is important, but if the video is not visually appealing, viewers won’t stick around long enough to hear your message. Follow our tips and tricks to learn how to improve your video quality and avoid common videography mistakes.
Before we jump into ways to improve your video quality, reflect on your current process and practices for filming. Do you regularly clean your camera before shooting? Do you double-check your camera settings? Review the common causes for low video quality below to start identifying ways to improve video quality.
One of the most common culprits of poor video quality is poor equipment. Some causes of bad video quality include old or outdated equipment and low-quality equipment. Using old equipment will undoubtedly affect the quality of your video.
However, just because a camera is new does not mean it is good quality. A cheap camera is going to have a different quality output than a higher-tech professional camera. As technology improves, the standards for video quality also improve. Using a modern, high-quality camera is essential to meet video standards.
Before investing in a new and potentially expensive camera, check if your camera lens is dirty. Sometimes all that’s needed is a quick cleaning to bring your camera back up to par!
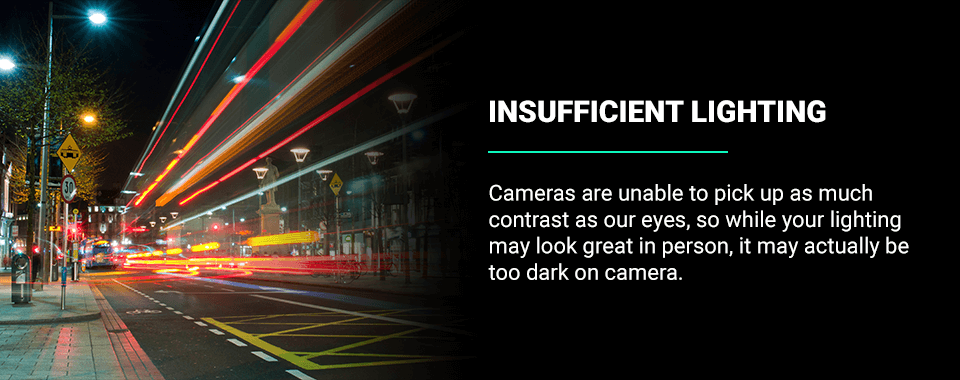
Even a great camera can’t save a video with terrible lighting. Cameras process light differently than our eyes. Cameras have a hard time picking up images in low or dark lighting the way our eyes do. Cameras are unable to pick up as much contrast as our eyes, so while your lighting may look great in person, it may actually be too dark on camera.
Sometimes, your video may turn out less than ideal, even with a new, high-quality camera and sufficient lighting. Perhaps you’re filming on the wrong camera setting. Shutter speed, in particular, can affect how clearly your camera captures your video.
Also, check the settings when uploading your video to a platform or website. If you are not uploading your video with HD settings, the video will appear to be lower quality than it truly is.
Using the wrong codecs to compress your video will lower your video quality or, in some cases, make the video unable to play at all. A codec is a video compression technology that allows your video to be streamed. As most videos and media are consumed by streaming, you’ll want to consider making your content compatible with streaming services.
Now that we’ve discussed common causes of low-quality videos, let’s look at how you can avoid these mistakes. From simple fixes such as better lighting to more technical details like video file format, there are many ways to improve your video’s quality.
First and foremost, if you’re working with an old camera, it’s time to upgrade. Before running out to buy a new camera, consider the type of videos you plan to make. Determining the style of videos you are making will help you find a camera with the optimal lens, sensor size and accessories. Having the correct camera will help you feel prepared before you even press record.
Examples of different types of cameras include:
The right lighting is crucial in making a high-quality video. The quality of your video changes with different light settings. Filming in a dark setting makes it hard for the camera to capture a clear image. Meanwhile, too much direct or harsh lighting can cause too many shadows or create an image that’s too bright.
The human eye absorbs light differently than a camera lens — remember to always test your lighting on camera before filming. Natural lighting is preferred, but if artificial lighting is needed, aim for soft, diffused lighting. Different types of artificial lighting include clamp lights, panel lights and studio lights.
When using artificial lighting, it is also important to properly position your light sources. Three-point lighting is a standard lighting method to make videos look more professional. In short, three-point lighting uses a key light, fill light and backlight to help reduce glare and make the subject seem more three-dimensional.
To learn more about three-point lighting and other lighting positions, review our comprehensive guide to lighting placement to set up lighting equipment to enhance your video quality properly.
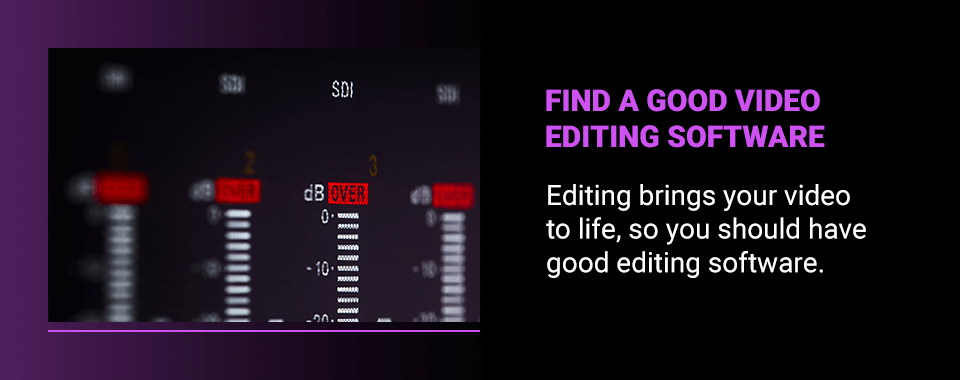
Editing brings your video to life, so you should have good editing software. The definition of good editing software may look different for everyone. Consider the following questions to help you find a software program that works for you:
Whether you’re looking for basic editing software to get you started or searching for a high-tech program, you’ll want to ensure the program includes some basic features, including:
Despite video being a visually-driven medium, audio is also extremely important. Unclear or muffled audio will have viewers leaving your video to find a better-quality one. Depending on the type of video you are making, you may even need multiple microphones to capture your audio clearly.
There are a variety of microphones available, but just like choosing a camera, you’ll have to consider how you intend to use your microphones before purchasing one. Microphones are not one size fits all. Different microphones are designed to capture different types of audio, making it essential to research and find a microphone that best fits your needs.
Ideally, it’s great to have a variety of microphones available. However, microphones can be pricey, so you may need to slowly build your collection. If that’s the case, really consider which microphone will add the most value to your video shoot.
Four common types of microphones include:
Another video quality improvement tip is using a tripod to stabilize your camera. Shaky videos are unenjoyable to watch, and reversing shakiness is an extremely challenging fix in postproduction.
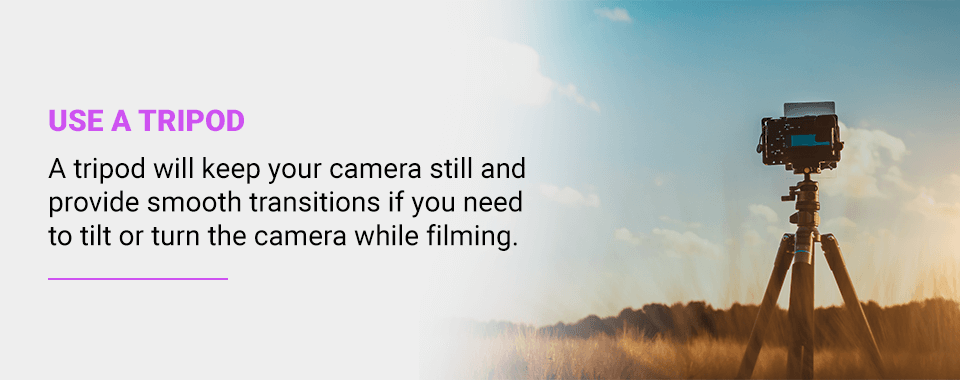
Our hands naturally shake, so if a camera is handheld, you can expect there to be some slight shakiness. Some shakiness can work for documentary-style videos. For other styles of videos, it’s best to use a tripod. A tripod will keep your camera still and provide smooth transitions if you need to tilt or turn the camera while filming. Using a tripod also frees up your hands so you can hold or work on other things behind the camera.
The rule of thirds is a common practice in film production. Look at the space being captured on camera and imagine there is a three-by-three grid. Some cameras may even have a feature available to physically show you the grid. Either way, look at your real or imaginary grid and align your subject on one of the grid lines.
Contrary to what you may think, placing your subject at the very center of the grid is not recommended. Of course, it may be necessary for some scenes, but consistently placing your subject in the middle can become boring and lackluster.
Instead, try and place your subject at any of the grid intersections to create dimension and variety in your shots. While this rule doesn’t need to be followed at all times, it’s a great starting point to help make your video more enjoyable and professional.
Your final video can look great in your editing software, but if you don’t upload it correctly to the platform you are sharing it from, viewers will see a low-quality video. Some platforms, like YouTube, try to optimize your video for you. However, third-party optimization is not foolproof, and your video may still appear in a lower quality.
Ways to upload your video properly include:
Each platform may have its own tips and tricks for the best way to upload your video. So, before uploading, do some quick research on the platform and look for any online tools or guides that can help you.
Whether it’s hiring a professional videographer or seeking expertise on what type of equipment to use, asking the professionals is a guaranteed way to improve your videos.
When you work with a distinguished audio, visual and lighting company like Illuminated Integration for your video needs, you’ll receive guidance and information on the best tools, systems and equipment. If you’re new to videography, speaking with professionals is also a great way to learn firsthand tips for using certain equipment.
Overall, When you’re provided with the right equipment, creating quality videos becomes much easier. Speaking with professionals is the quickest and easiest way to find the equipment you need.
Are you serious about creating high-quality videos? With extensive experience with audio, visuals and lighting, our experts are ready to help you upgrade your videos. We work with various industries, so no matter what type of videos you’re creating, we’ll have audio, visual and lighting solutions for you.
We’ll be there every step of the way, from delivery and installation to walking you through your new equipment. Contact us today to learn how Illuminated Integration can transform your videos.