As technology advances and more aspects of our lives become digitalized, quality audio recording is more important than ever. People expect audio to be clear, whether watching a commercial, tuning in to a YouTube video, listening to music or watching an online conference or speech. If your audio quality is poor, listeners will move on to someone else’s content.
If you create recorded material for your company, your audio quality must be spot on. Poor audio quality can lead to frustrations, a decrease in sales and a negative perception of your organization. Luckily, there are a few simple techniques that you can use, even if you’re new to audio recording. Our guide will help you improve your audio quality online so you can start producing professional-sounding audio in no time.
Whether we’re aware of it or not, we judge videos and other recordings based on the quality of their audio. So, anything less than high-quality audio can turn people away from listening to your recording. Your audio quality also gives your audience an impression of your professionalism.
High-quality audio shows the person responsible for recording has taken the time and effort to record good audio. Verbal communication, including that done via audio recordings, is one of our main methods of communication. Therefore, it is crucial any audio you record is clear and easy to listen to.
In more technical terms, high-quality audio can be determined by bitrate levels. Bitrate refers to the quantity of data that is transferred into audio. Generally speaking, a higher bitrate signals higher audio quality. Audio files under 90 kilobits per second (kbps) will have a noticeable drop in quality, even for listeners with no formal audio training.
The ideal bitrate level will depend on the audio file type used and the method for listening to the audio. For example, the ideal bitrate for streaming services, such as Apple Music and Spotify, ranges from 96 to 160 kbps. Meanwhile, an MP3 file ranges from 96 to 320 kbps.
While recording audio may seem like an easy task, there are a few things that can impact your audio quality. Once you’re aware of the common mistakes to avoid when recording audio you can feel more prepared to prevent these issues and know how to improve your audio quality.
How far away you place your microphone will have a noticeable impact on sound quality. Ideally, you should remain around 3-5 inches from the microphone. The further you are from the microphone, the harder it is for it to pick up clear sound. Additionally, a microphone should be placed in line with the speaker’s mouth. Placing the microphone too far above or below will lead to the microphone picking up background noise and other distracting sounds.
Once you start recording, it is essential to keep your microphone at the distance and height you started with. Moving the microphone mid-recording changes how loud and clear the audio is. Reflect on your own experiences. Have you ever been watching TV and noticed that commercials are playing way louder than the actual show? It’s annoying, inconvenient and not fun to listen to. Providing listeners with consistent audio makes the experience more enjoyable for them.
Background noise distracts from your message. After spending time and money producing audio recordings, you want to make sure your audience actually listens to your message. Background noise can come in the form of other people speaking, a dog barking, wind and many other noisy occurrences.
If you’re recording in your home, office or somewhere else you spend a lot of time, you may have become used to these background noises and not notice them. However, your listeners will pick up on them. If you do not have access to a professional recording space, take time to identify any potential background noise producers in the space you will use.
Of course, your equipment is one of the biggest factors in creating high-quality audio. When listening back to your audio, it will be obvious if you’ve used old or poorly made equipment. The audio may be fuzzy, muffled or not as clear as you’d like.
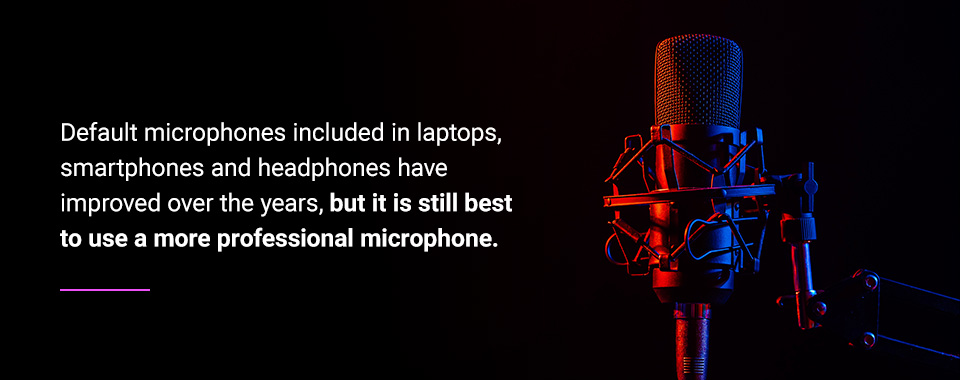
Default microphones included in laptops, smartphones and headphones have improved over the years, but it is still best to use a more professional microphone. If you need to use your laptop or another default microphone, make sure you have access to good editing software to help clean up your audio.
Audio recording systems are valuable for all industries. From the entertainment industry to education, business and religious organizations, recorded audio will be necessary at one point or another. To get the best results from your audio recording, it’s a good idea to follow the tips and tricks listed below.
A quality microphone leads to quality audio. One of the most effective and easiest ways to improve your audio recordings is to invest in a quality microphone.
Choosing which microphone is best for you will depend on the type of audio you plan to record. Are you recording a podcast, making music or recording a live sermon or presentation? Would you benefit from choosing a wireless microphone?
Other key considerations for finding the right microphone include:
A recording studio is always the most ideal place to record audio. However, they are not always accessible. If you cannot get into a recording studio, it’s critical to make your own recording space as quiet as possible. First, you’ll want to ensure the room you’ll be recording in does not have an echo. Typically, the smaller the room, the better. Carpet, wall decorations and furniture can also help prevent echoes.
Next, identify distracting background noise. Some common noise producers to look out for include:
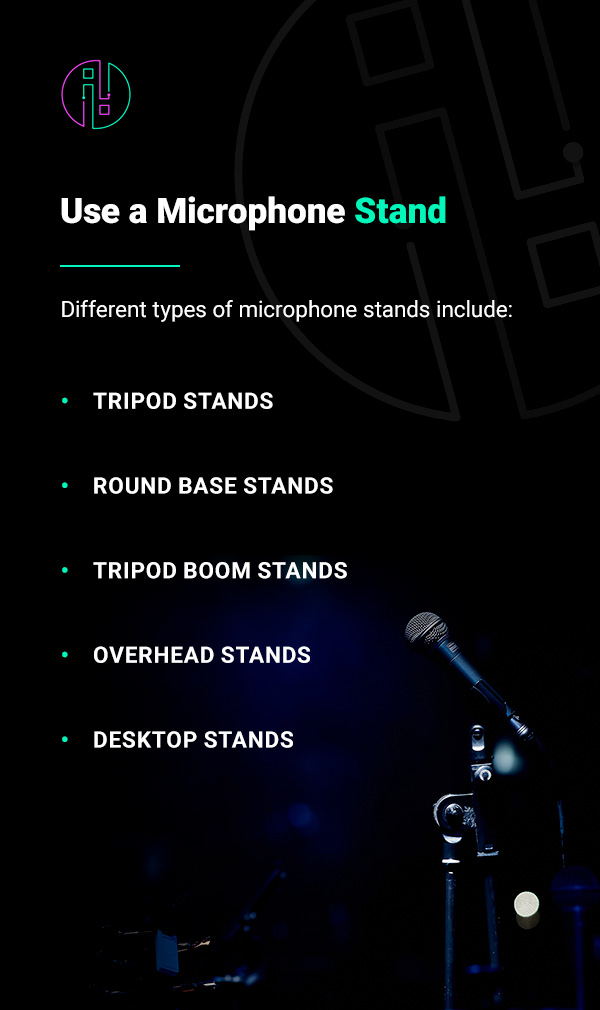
Unless a handheld microphone is necessary, it’s best to use a microphone stand because you want to try to keep the microphone at the same distance throughout the recording. Using a stand helps keep the microphone in the same place and is especially helpful for animated speakers who tend to move their hands around while talking.
Different types of microphone stands include:
If you’re recording will have two or more speakers, you should record each speaker’s audio separately. The recordings can all happen at the same time as long as each speaker is being recorded on their own track. This allows you to create a consistent audio level.
For example, if one speaker naturally talks much louder than another, you might face an imbalance. If each speaker has their own audio track, the louder speaker’s audio can be toned down in editing or the quieter speaker’s audio can be turned up to maintain a consistent level.
Wearing headphones while recording is especially crucial if you have two or more speakers recording together. Using headphones keeps your microphone from picking up the other speaker’s audio as background noise. Headphones also allow you to hear how you sound to the microphone.
Microphones pick up audio slightly differently than the way our ears pick up audio. You may think you sound great, but after listening to your audio back, you may find the recording doesn’t sound the way you want. Wearing headphones allows you to hear what the microphone hears in real time so you can address any issues while recording instead of trying to fix things in editing or, even worse, having to rerecord the entire session.

A pop filter is a screen that is placed in front of or around the microphone to reduce plosives. Plosives are bursts of air, or popping noises, that we expel when pronouncing consonant sounds like “p,” “t” and “k.” Pop filters keep these air bursts from hitting the microphone and causing audio distortion, giving you the best sound quality.
Pop filters may come as a few layers of woven nylon or as a fine mesh metal screen. The type of filter you prefer to use is up to you. Unlike microphones, you don’t need to do much research on the pop filter you use, as they all tend to have the same quality level. However, some microphones come with a pop filter included so you could avoid having to shop for a pop filter altogether if you opt for this type of microphone.
Gain is the decibel (dB) input volume level of your audio. If your gain level is not properly set, you’ll end up with distorted audio. Make sure your gain is not set too loud. Having your gain too high will make the audio uncomfortably loud and distorted for your audience.
To make sure your gain level is set correctly, do a practice run of talking into the microphone. During the test run, make sure to speak at the volume level you plan to speak at during the real recording. Look at your recording software to see if your audio input is hitting the red part of the scale. If it is, you’ll want to lower your gain setting until you see your audio input stay within the green.
This tip may seem self-explanatory, but you mustn’t forget it. Great audio recording equipment can’t fix a cracking voice or a speaker who seems uninterested. Bringing your A-game will help your audio sound even better.
Before recording, do some light vocal warmups. Practice the tone you want to use during your recording. After warming up, remember to keep water nearby and stay hydrated so your voice maintains its quality, especially through long recording sessions.
Editing brings your audio quality from good to great. Editing allows you to remove any background noise that snuck its way in and level out volume inconsistencies to keep the audio sounding clear. Editing also lets you remove any extended pauses to help the audio flow better. Any mistakes or unnecessary parts can also be removed. Finally, if needed or desired, you can add sound effects or music.
As editing is an extremely vital step, you’ll want to make sure you have high-quality editing software. If you’re new to editing or feel unsure of your editing abilities, hire professional help. Professional editors can bring your audio to top-notch quality and provide pointers on how to record better audio in the future.
If you’re interested in editing your audio yourself, take some time to research audio editing software options. There are multiple to choose from, so find software that has all the features you need with an easy-to-use setup. During the editing process, remember to address the following:
As an audio, visual and lighting company, Illumination Integration has the tools and team to meet any project size. We design and install AVL solutions and even train clients on performance systems. With our knowledge and expertise, you can learn how to improve the audio quality of recordings.
Our team of creative audiophiles is ready to design the best sound system to meet your unique goals and needs. From design to installation and training, we’ll be with you every step of the way. Reach out to us today to see how we can help build a complete high-quality audio recording system for your business or organization.