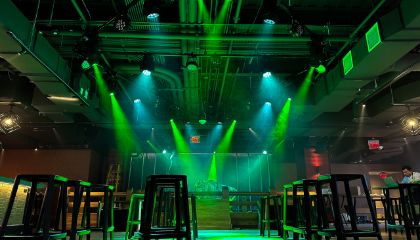
Lighting is essential for stage productions, concerts and other theatrical productions. Lighting designers use their expertise to set the mood — with just a few alterations, they can use the lights to create a comprehensive style.
Lighting designers and directors use various documents to keep lights organized throughout a production. From the initial list of lights to details about dimness levels to lighting cues, they help light crews keep the show running smoothly. One of these documents is a lighting instrument schedule, which lists each light instrument in order of hanging position. Light crews use these schedules when setting up lights and throughout the life of a production.
Overall, an instrument schedule helps lighting workers keep track of light positions. An instrument schedule is a list of every lighting instrument used in a design, organized by position. It also includes a description detailing the:
An instrument list typically numbers the lighting instruments consecutively by hanging order in the theater or venue. Workers can then use the list to make sure they put each light instrument in the correct order.
You can also use the instrument schedule for problems you might encounter later. For instance, if a director or another worker notices an issue with a specific light, the instrument schedule will help the electrician determine if it’s set up as intended.
A lighting designer is responsible for illuminating stages with the right amount of light at the right moments.
Lighting directors, designers and crew workers can understand lighting placements with a lighting instrument schedule. They can keep track of where lights are supposed to be placed and ensure they stay in the correct location. The schedule makes it much easier for lighting designers to complete their jobs and light the stage.
Here are more benefits of a lighting instrument schedule:
Since the schedule lists every lighting structure onstage, your first step is to get or create a record of all the light structures you will use for the show. Once your record is complete, organize every lighting structure according to its position on stage. You might list the lights from stage left to stage right or from downstage to upstage. You can choose whatever method you prefer as long as it’s consistent and clear to everyone using the schedule.
Once you have listed all the lighting structures in location order, you can fill in the additional information about each structure. A lighting instrument schedule usually includes details about these features:
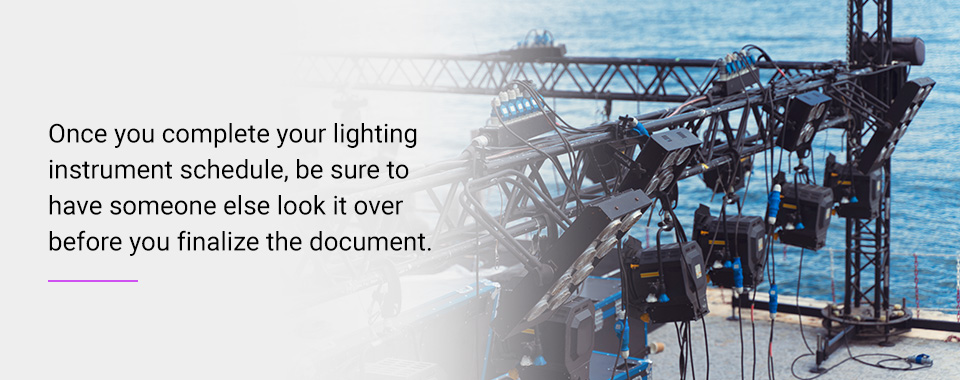
You should list each of those pieces of information alongside each light you use. Once you complete your lighting instrument schedule, be sure to have someone else look it over before you finalize the document.
Lighting instrument schedules vary depending on preferences. Some might be highly detailed, while others contain only brief descriptions. Here is an example of what an entry could look like on a lighting instrument schedule:
You can also use this as a lighting instrument schedule template when you create your own.

Creating an accurate and detailed lighting instrument schedule is critical for lighting success. The details help lighting designers keep track of information about light fixtures and set them up correctly.
If you have any questions about the process, it’s often better to ask a professional for help. At Illuminated Integration, we understand the necessity of proper lighting design and work hard to help our clients achieve it. Our team’s expertise in the lighting design field will help you on your next project. Enlist the assistance of our dedicated and experienced team today to ensure your production goes smoothly.
Contact Illuminated Integration today to learn more about how we can help your next lighting project.