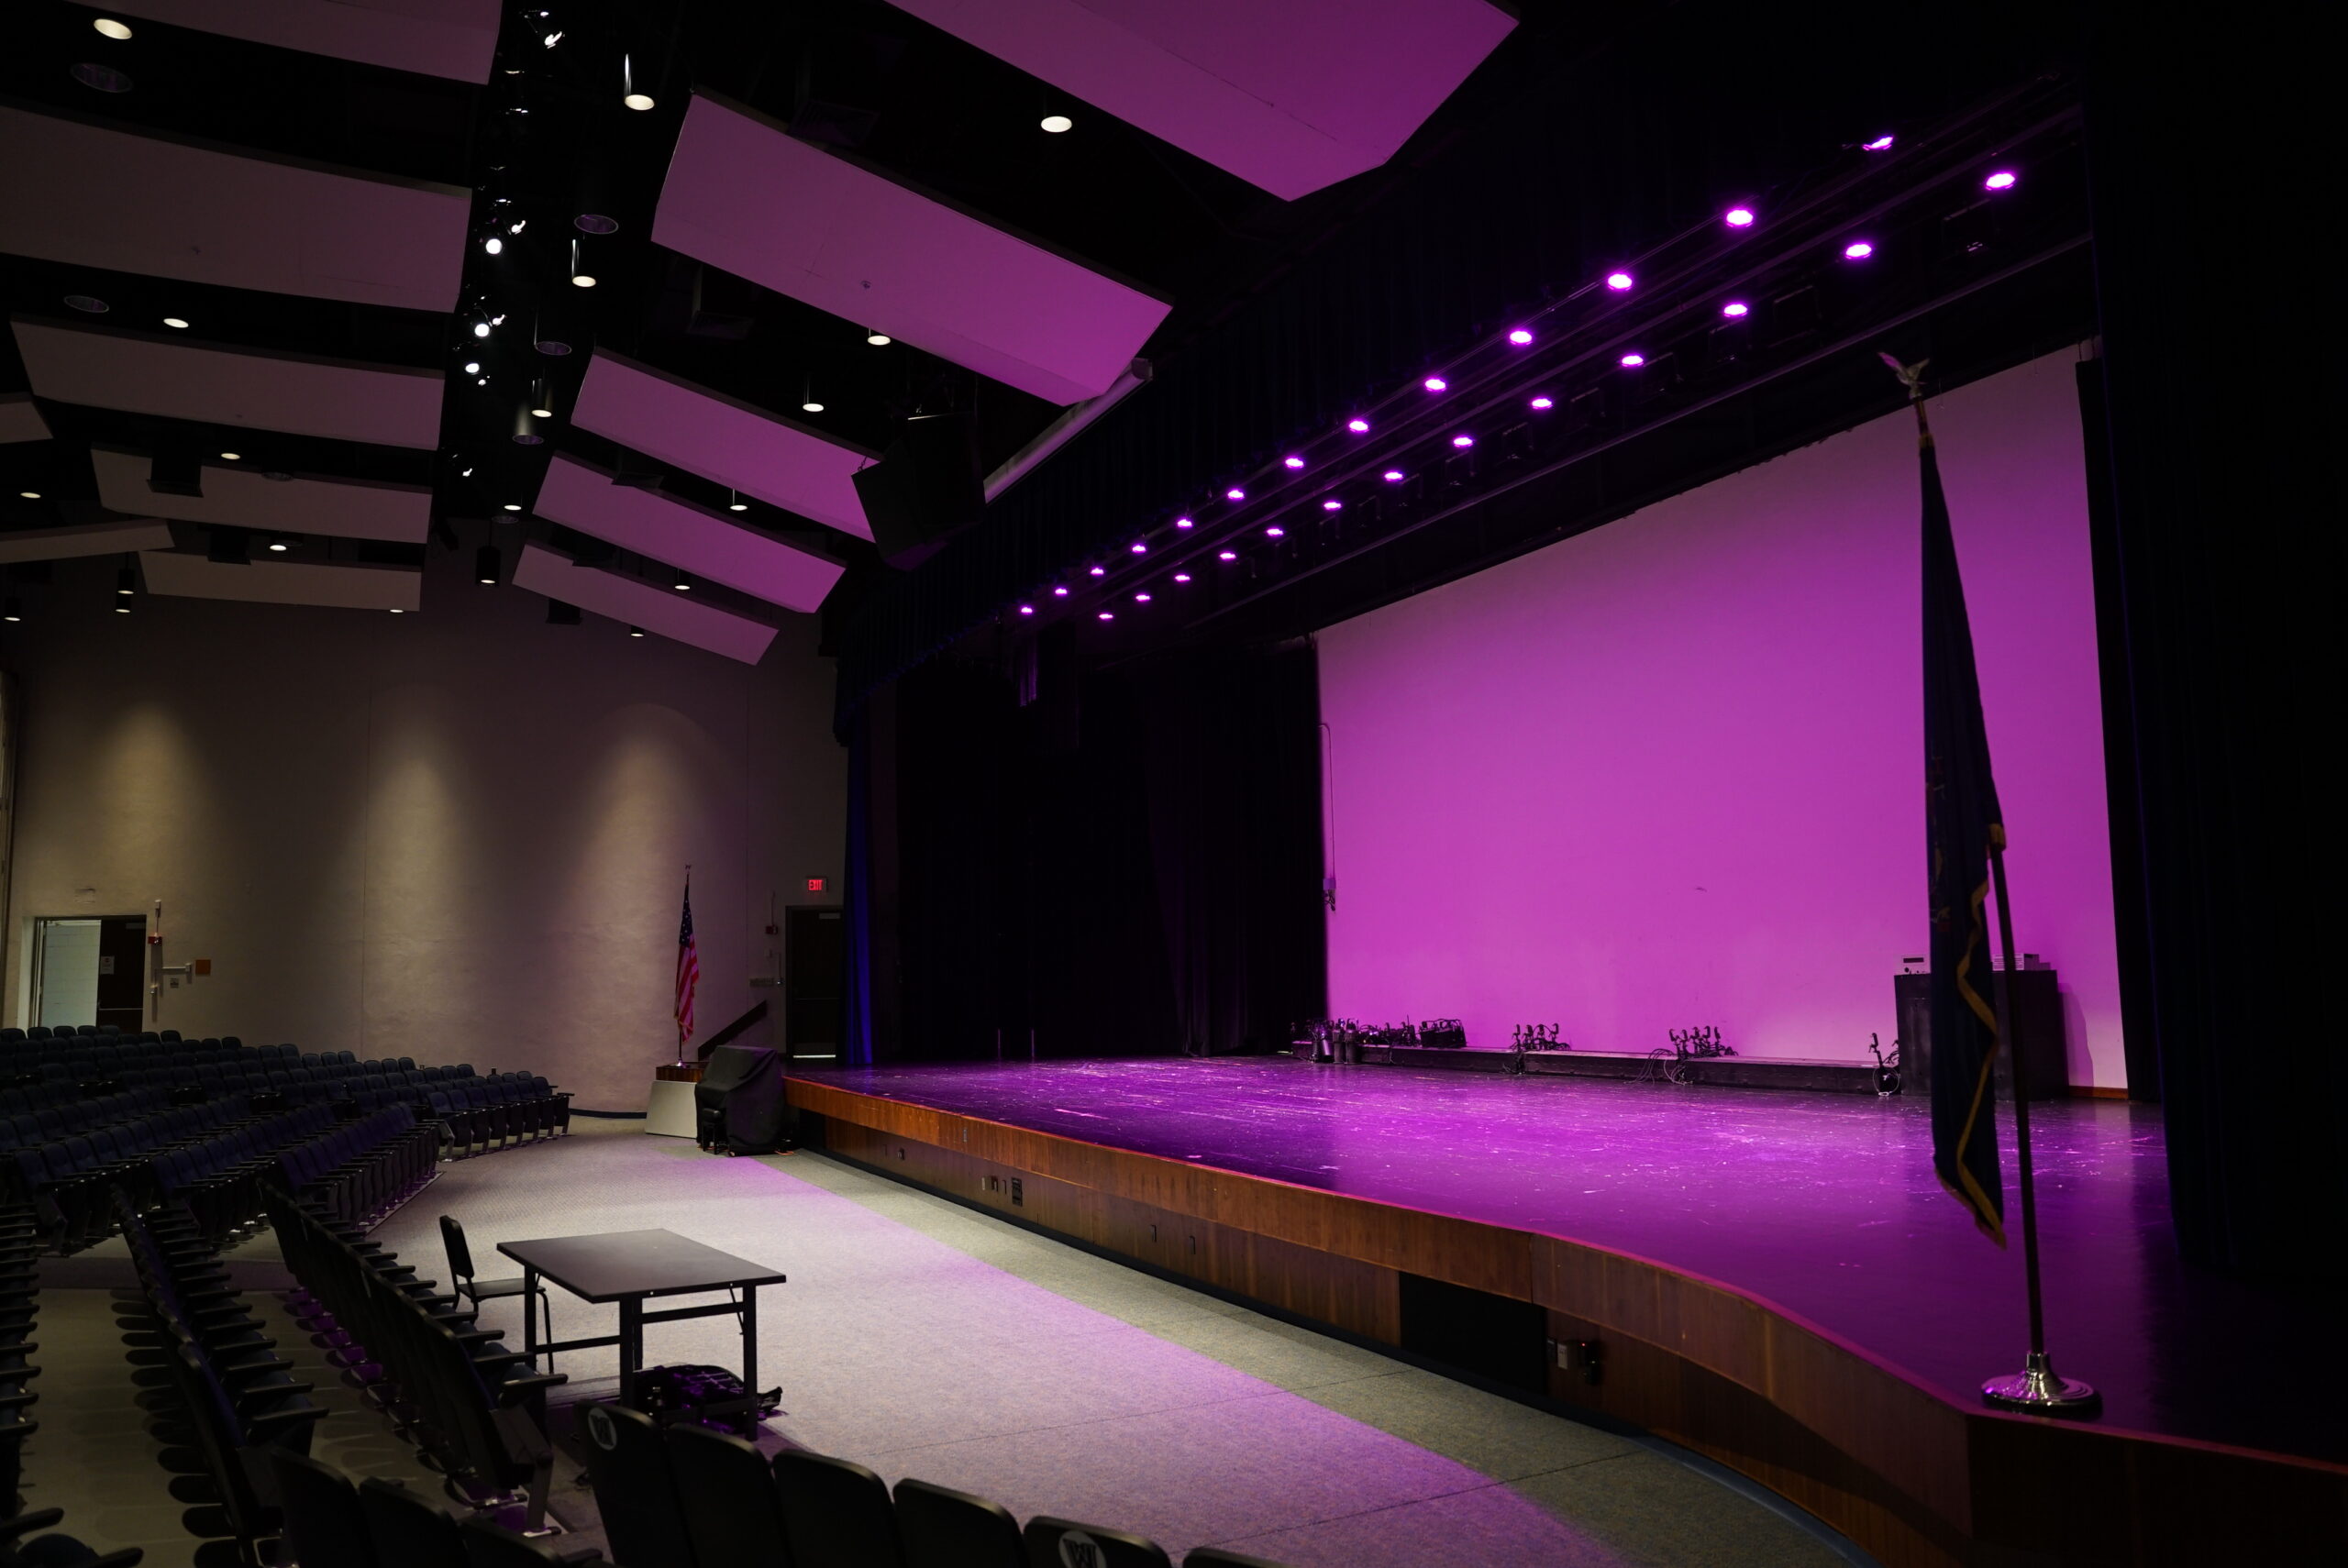
Excellent stage lighting puts the focus on your subject, whether an actor, singer, pastor, public speaker, business leader or some other presenter. When people take to the stage, they want their message delivered as clearly as possible. Lighting can enhance what is happening on stage, no matter where the subject stands or how they position their body.
So long as you consider the different stage directions and body positions in relation to lighting, you can help the presenter communicate concepts and commands to the audience more effectively.
Actors may take various directions on a stage. Generally, these stage actions are dictated in the play text or chosen by a director. An actor might also improvise their movement in specific situations. Established terms describing the typical locations and directions on a stage keep everyone involved in a production on the same page.
It is essential to consider each stage direction in relation to lighting, even if your subject isn’t necessarily an actor. You must anticipate your performers and presenters to take any stage direction, and lighting will need to keep them visible to the audience. Stage directions might include:
In addition to the different directions an actor can travel on stage, the way they position themselves to the audience will also affect the lighting. Each body position has a name. Facing downstage, straight out to the audience and then gradually turning clockwise until you face downstage once again will result in the following positions:
Lighting and stage positioning often influence one another, so it is essential to understand how lighting can impact your subject when standing at various body positions.
Full front is when the actor faces directly front toward the audience. In theatrical and artistic shows, this body position is typically used for important moments or delivering monologues and asides. Pastors, public speakers and business leaders may also use this body position to deliver speeches and presentations at a podium located stage center.
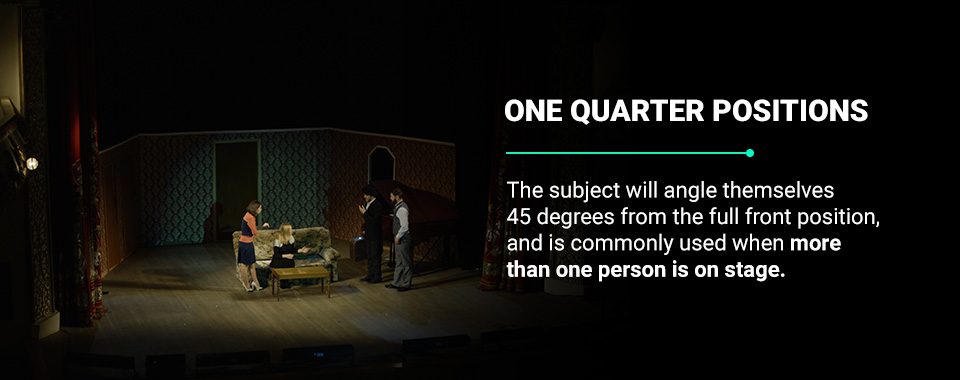
To achieve the 1/4 right or 1/4 left position, the body must be a quarter turn away from the audience. The subject will angle themselves 45 degrees from the full front position. When two actors share a scene or two speakers debate, they usually assume this position. The 1/4 body position lets the audience easily see and understand what is happening on stage while the two subjects communicate.
The 1/4 position is commonly used when more than one person is on stage — not only does it feel more natural than the full front position when performers must talk to one another, but it allows the audience to listen and participate if necessary.
An actor in profile position will stand facing either the left or right side of the stage. Two actors may use profile positions to meet each other directly, with one foot downstage and the other upstage.
A performer in this position typically has their back turned to a portion of the audience, making it difficult for certain spectators to see what’s happening on stage. For example, an actor in the profile left position turns with their back toward stage right, so anyone seated at the far left of the house will have difficulty understanding the scene. As a result, the profile position is usually saved for intense scenes that convey a quarrel, accusation or romance.
The 3/4 left and 3/4 right body positions occur when the subject is turned away from the audience at an angle. The audience will see three-quarters of the actor’s back and only one-quarter of their face.
This position is generally used to turn the audience’s attention to another actor or speaker upstage. The performer who takes the scene typically uses a full front or 1/4 position while everyone else turns to deflect the attention away from themselves.
The actor stands at a 180-degree turn with their back to the audience. The full back position is used only for exceptional circumstances. Dialogue is not recommended since it will be challenging for the audience to understand what is being said and the intent behind the words.
Actors must be familiar with what direction they need to go on stage, as well as how to position their bodies during each scene. The AVL decision-maker must ensure the lighting enhances the subject’s different stage directions and positions properly. Each stage direction, stage position and lighting type must work together to create the desired effect.
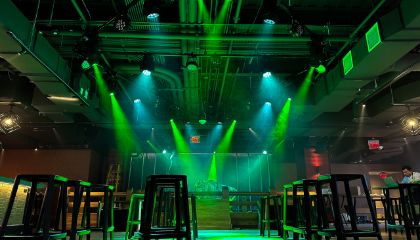
Anticipation is crucial in stage lighting. For a concert, you’ve got to predict what the music will do and where the performers will stand. For a theatrical show, you may have to prepare lighting based on set stage actions as well as your predictions on how the actors might move about the scene. How you position the front, side, high side and downlighting effects can affect your audience’s overall experience.
The front light serves as your primary illumination source for the main event on the stage. Your priority should be to ensure the front wash accentuates the performers correctly as they take different directions across the entire stage. Front lights are especially effective for theatrical and artistic shows.
When done right, your front lighting can significantly reduce the presence of shadows and minimize textures. However, front lights will make the subject look flat on their own. Use front lighting to ensure the person’s face and body are illuminated evenly, then add dimension with backlighting or other effects.
This type of lighting is often needed for people who must walk around the stage during a performance. These lights are usually subject-level and located on either side of the stage. Side lighting helps performers while they act or dance, accentuating the mid-chest, shoulders and feet of anyone on the stage.
For theatrical and artistic shows, side lighting may be required to showcase the performers’ movements. If your subject stands behind a podium the entire time, side lighting may be less of a priority.
Generally, high side lighting is mounted at the horizontal edge of the stage at an angle above the subject. There are two forms of high side lighting — high-sided left and high-sided right — which are typically combined, so the performers’ heads

and shoulders are illuminated from both sides. An AVL decision-maker might emphasize just one side to create a more dramatic effect.
High side lighting accentuates the upper part of the body, with additional focus on the elbows, middle chest, legs and top of the head. Stage actors, singers and other subjects will appear more natural and flattering, with their facial expressions clearly visible to the audience.
Downlighting is used to ensure you have enough exposure. While some designers use downlighting to refer to lights that shine straight down or down at an angle from their position above the stage, others use this term for the lights located at the stage’s edge that shine upward towards the performers’ heads. For maximum lighting during a theatrical performance, the middle beam should reach about the shoulder height of your performers.
Stage lighting is an essential part of the subject’s communication with their audience. Whether your subject is a pastor, presenter or a group of performers, stage lights can easily distract from or enhance what is happening on stage. In addition to making sure the audience has optimal visibility, the correct stage lights will help you set a particular mood, make the subject stand out from the background and control the audience’s attention.
Whether leading a performance venue, serving a place of worship or managing a corporate space, it’s vital to see your presenters’ expressions and actions. Remember your purpose for lighting the stage as you seek new ways to grow and improve your stage lighting setups.
Successful stage lighting often comes down to knowing the tools and how to use them correctly. Some conventional stage lighting fixtures include:
When you understand what your tools can achieve, you can create more complex lighting scenes that enhance the presentation. Spend time learning what tools you have at your disposal and the various functions of each fixture type.
Different stage directions and positions can significantly affect your lighting angles. Check how lights appear on the presenter’s face and body from every angle. You want the subject to be fully illuminated as they follow their stage actions and take various positions around the stage.
Improve your lighting angles, so you provide flattering light from every spot in the audience. We often focus our attention on the view from the auditorium’s center seats. However, the left and right sides are just as important. Sometimes a live video will be used during the performance to show one extreme side or the other, and you’ll need to make sure you are lighting for these angles, too.
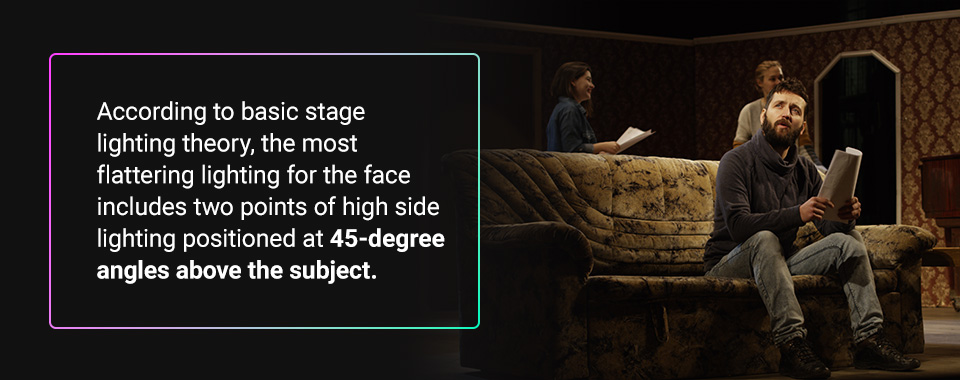
According to basic stage lighting theory, the most flattering lighting for the face includes two points of high side lighting positioned at 45-degree angles above the subject. Depending on the stage situation, an exact 45-degree angle is not usually possible. You will need to check the lighting angles you can achieve to find the best illumination for your circumstances.
As a performer moves across the stage and stands in different positions, eliminating all undesirable shadows may seem challenging. Small shadows are likely to exist on the face and body, cast by noses, hands, ears and wrinkles. Soft lighting helps minimize these shadows’ intensity.
Use diffusion material, such as a colorless gel, to soften the light from a PAR can or floodlight if the beam is too intense. A light meter will help measure your wash, so you can improve any unbalanced lighting. An even wash of light is easier to work with for recorded and live performances.
Every light source you purchase for the stage will have a specified color temperature, measured by degrees Kelvin. The color temperature indicates whether a white light has a warmer or cooler tone based on how much orange or blue is present. Ensure all your lighting temperatures match, so you can adjust your light setup smoothly.
While our eyes often adjust for the difference automatically, the slightest change between color temperatures will cause severe problems on camera. The difference may even distract a live audience, especially on the performer’s skin.
Lighting is a technical skill you can continue developing with new techniques. Be willing to experiment and test new features to further your understanding of the art — because lighting is an art form, just like the shows performed on the stage:
Correct stage lighting is an essential part of any stage production. Whether a theatrical show or a corporate presentation, proper lighting will enhance the communication happening on stage. At Illuminated Integration, we work with several types of integrated lighting design to take on immersive projects of any size or complexity.
Contact Illuminated Integration for more information about how we can help you achieve unique lighting for your theater, auditorium, church, performance venue or other event location.